What is Zapier? #
Zapier is an online tool that automatically connects two or more software applications. This will allow you to create automated workflows to connect iDecide Pro with other apps that support Zapier.
While iDecide currently gives you analytics to see only the end choices made by prospects in your own contact list, the Zapier integration for iDecide Pro will allow you to get data on the presentation you built as a whole — including the performance from links your reps sent on their own account.
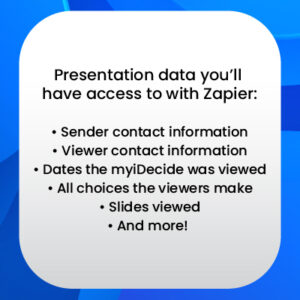
Some terms to be familiar with before getting started:
- Zap: the full automated workflow you build
- App: a software that Zapier can connect to and use as part of your Zap. iDecide would be one of the Apps
- Trigger: a specific event that starts the Zap
- Action: the task that Zapier will perform when your trigger occurs
- Event: an occurrence that takes place in one of your connected apps. EX: iDecide Finished
Use Our Template: myiDecide for Authors > Google Sheets #
Get your myiDecide’s Presentation Performance Analytics using Google Sheets and Our Pre-built Template. The template will include:
- Instructions on how to use the sheet
- Total Slide Views
- Viewer Choices
- Sender Performance – Total Views & Top Performers
The spreadsheet template below already has formulas that work with our Zapier integration so all you have to do is download a copy as an Excel (.xlsx), upload it to your own Google Drive, then follow the instructions to set up your Zap.
Get Started #
1.) Enable External Analytics Support (if you haven’t already)
• Log into your myiDecide Builder, click “Resume an Existing Presentation,” then click the Edit Info icon next to the presentation name.
• Scroll to the bottom and check the box next to Enable External Analytics Support
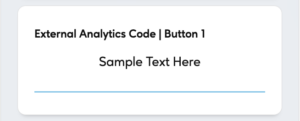
• Go through your presentation and label each button that you’d like to track. (Troubleshooting: If your analytics aren’t showing the choices made, you may have left the button analytics code blank. This is the text that will show in your Google Sheet when your viewer makes a selection)
2.) Publish your presentation (if you haven’t already)
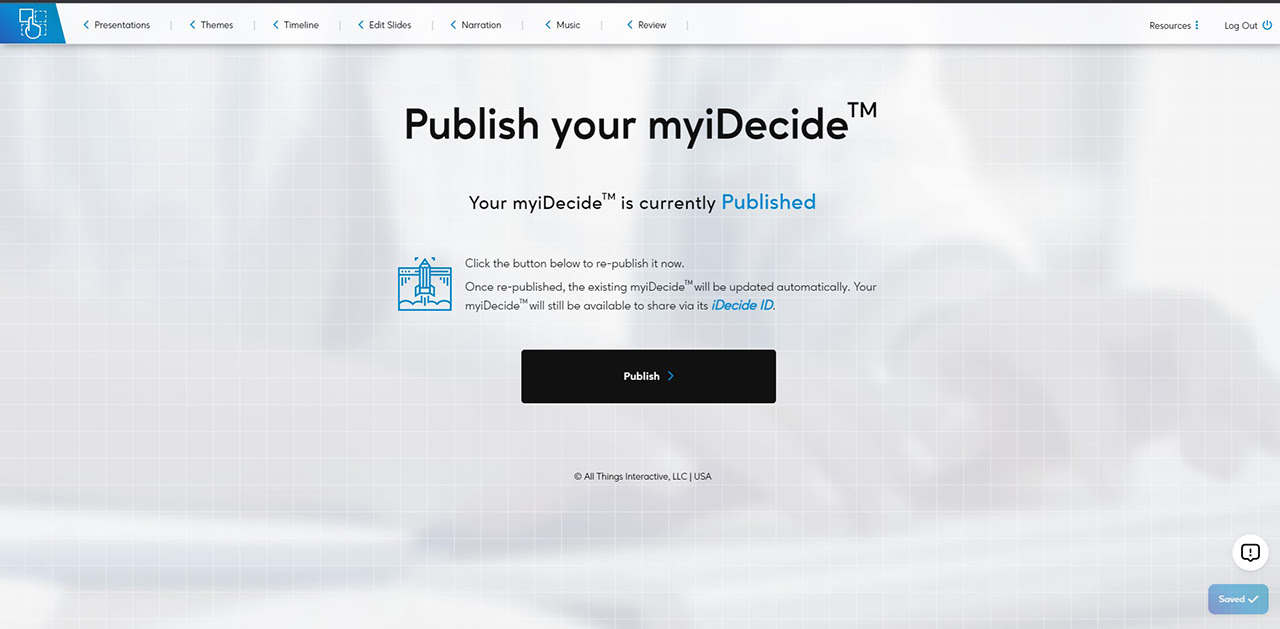
• Publish your myiDecide
• Ensure your presentation has been watched at least once before moving ahead
3.) Add the template to your Google Drive
• Click to download our prebuilt template
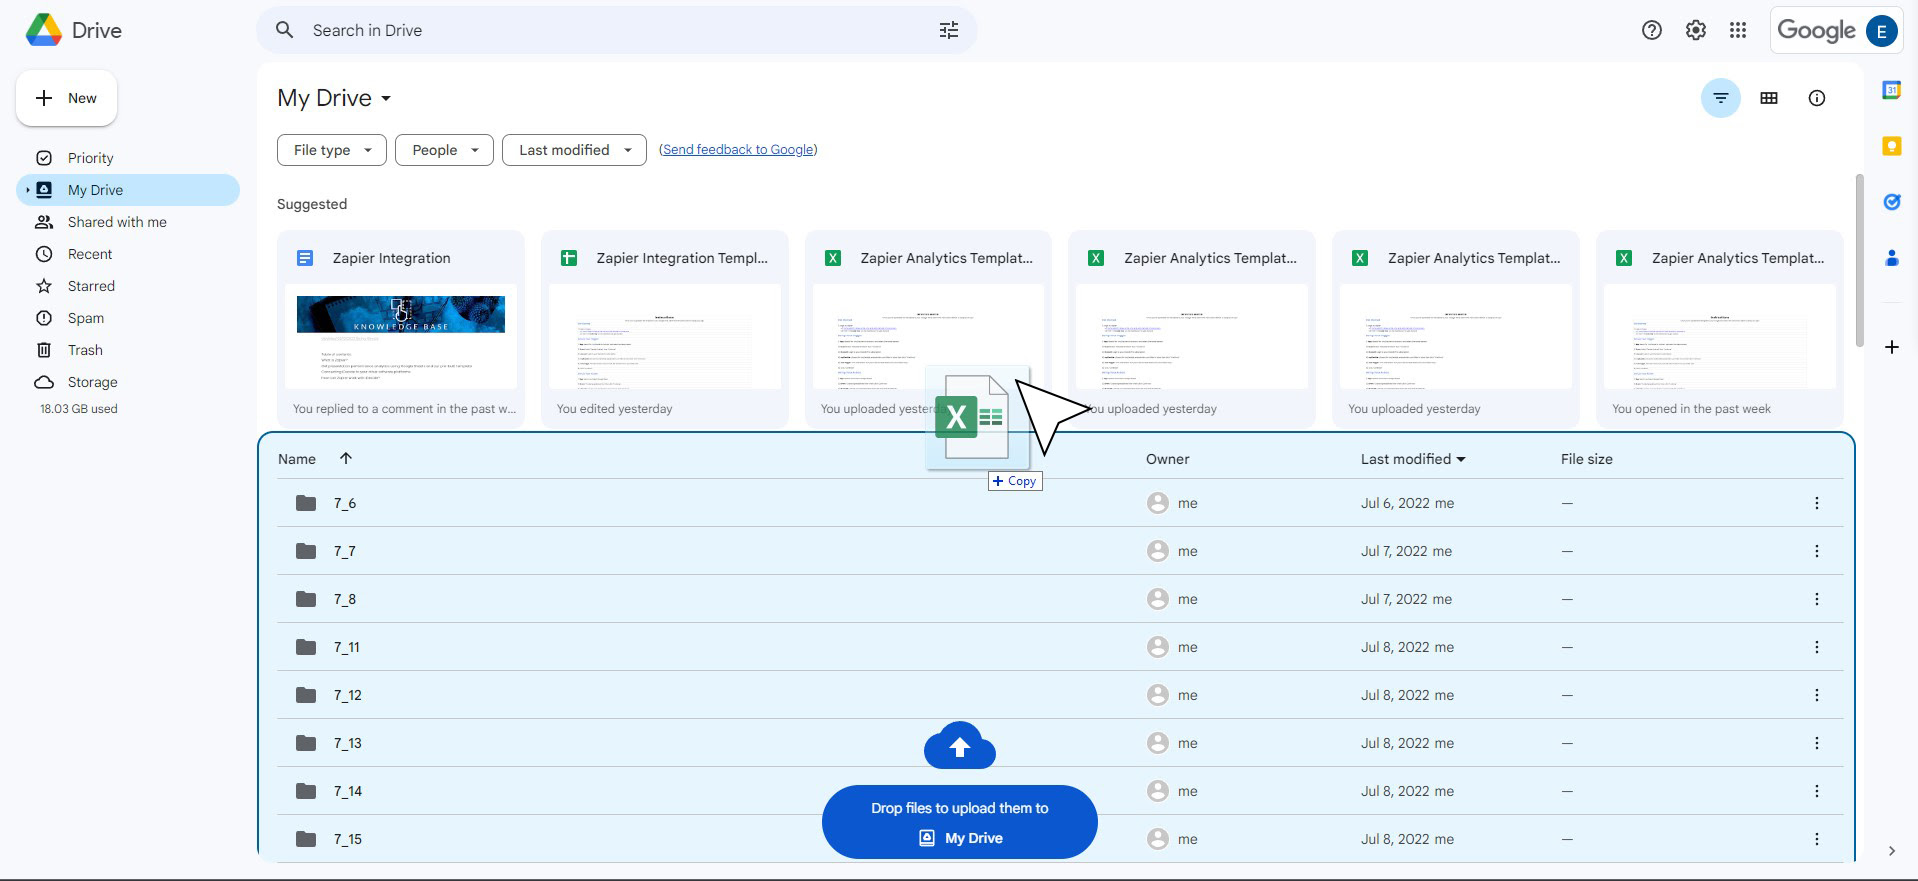
• Upload the Excel to your own Google Drive
– Login to your Google Drive > Drag n Drop the Excel into your drive
– Open the template on your Google Drive > Click FILE > Click SAVE AS GOOGLE SHEET (Troubleshooting: if you miss this step, your template may not appear as an option to edit in Zapier.)
4.) Login to Zapier
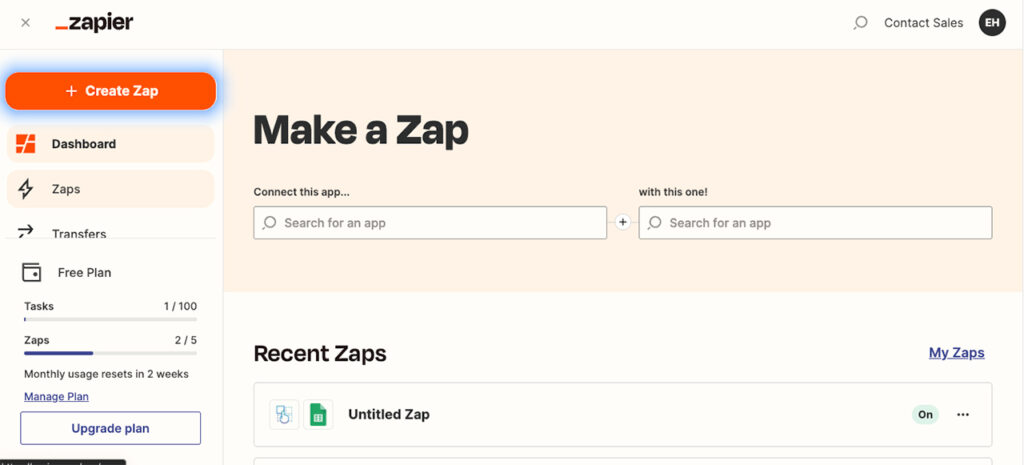
• CLICK HERE TO SIGN UP OR LOG IN & ADD iDECIDE TO YOUR APPS
• Click “+ Create Zap” on the dashboard to get started
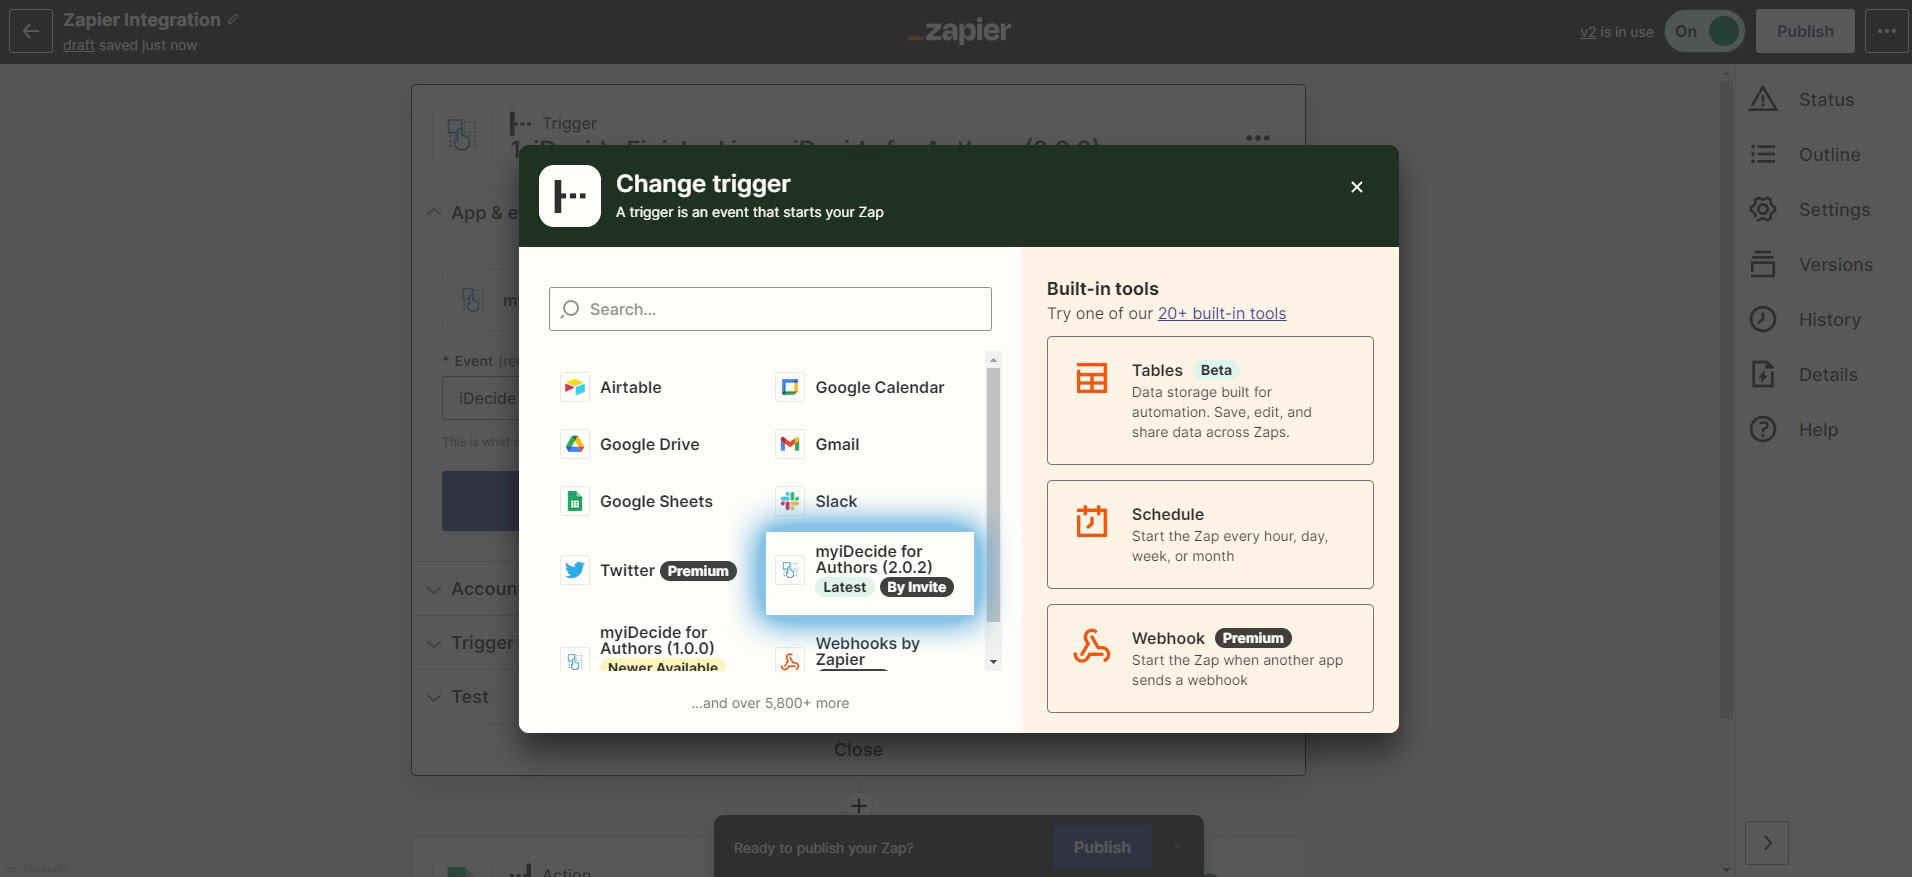
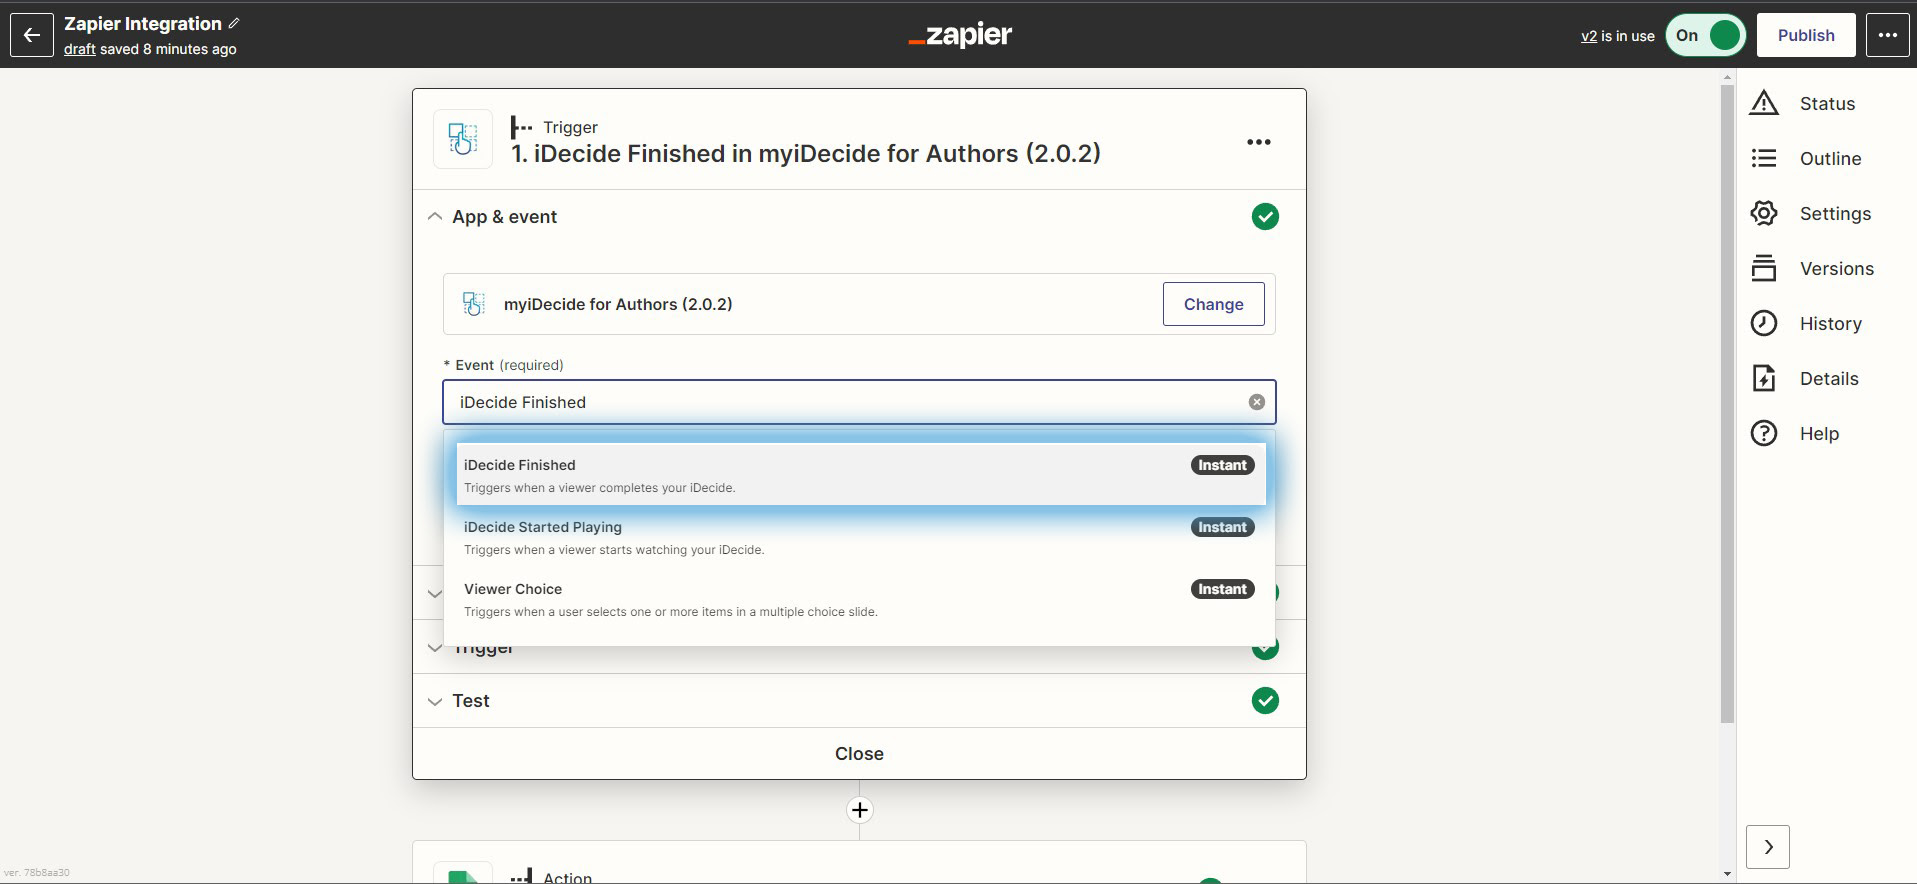
2.) Event: Select “iDecide Finished” then “Continue”
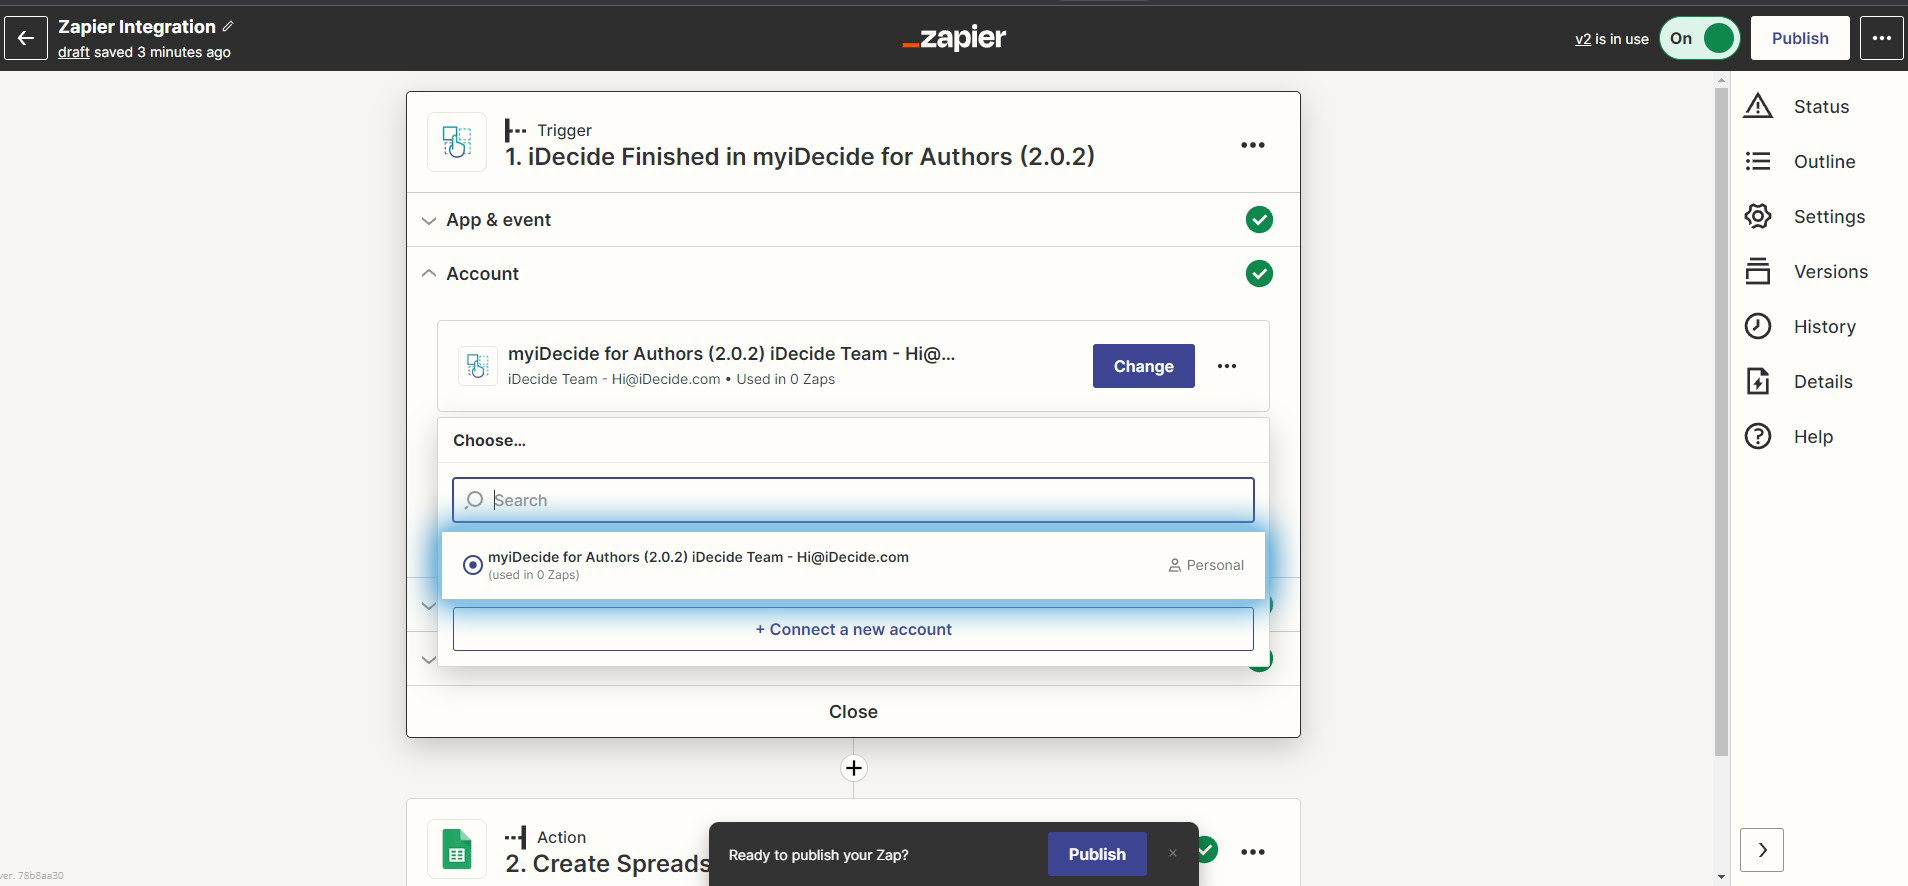
3.) Account: Login to your iDecide Pro subscription
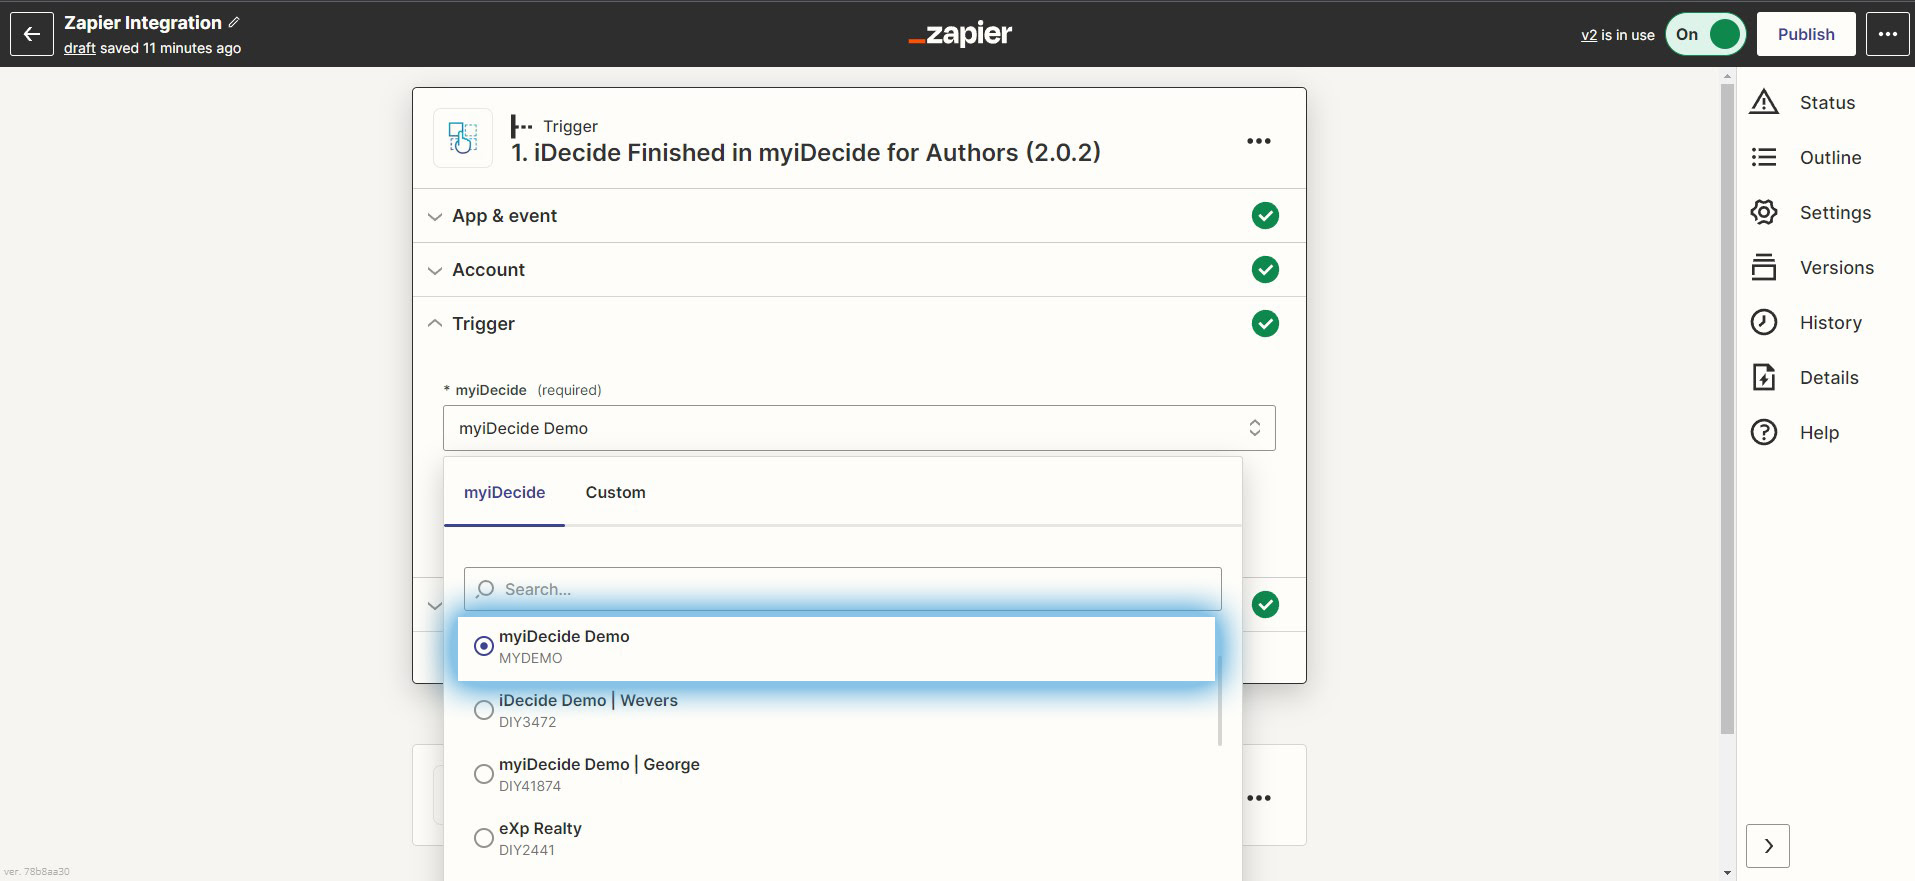
4.) myiDecide: choose the myiDecide presentation you’d like to track then click “Continue”
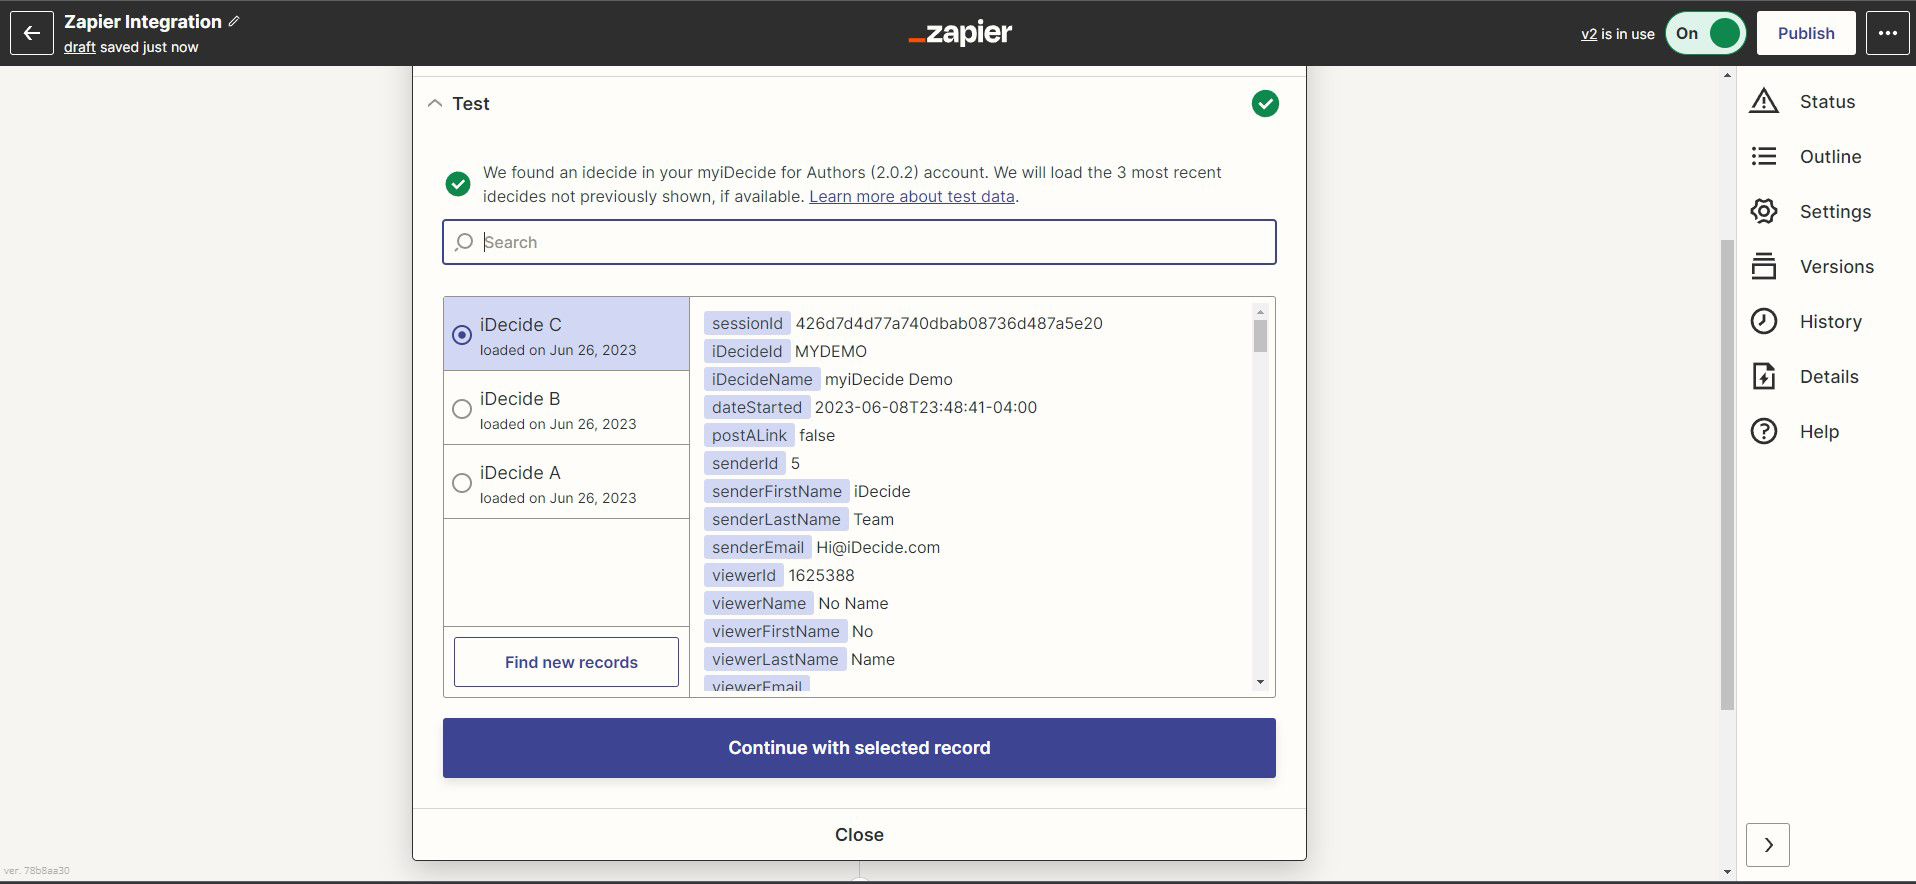
5.) Test trigger: Click the button and you’ll see the test data from your latest view
Click “Continue with selected record”
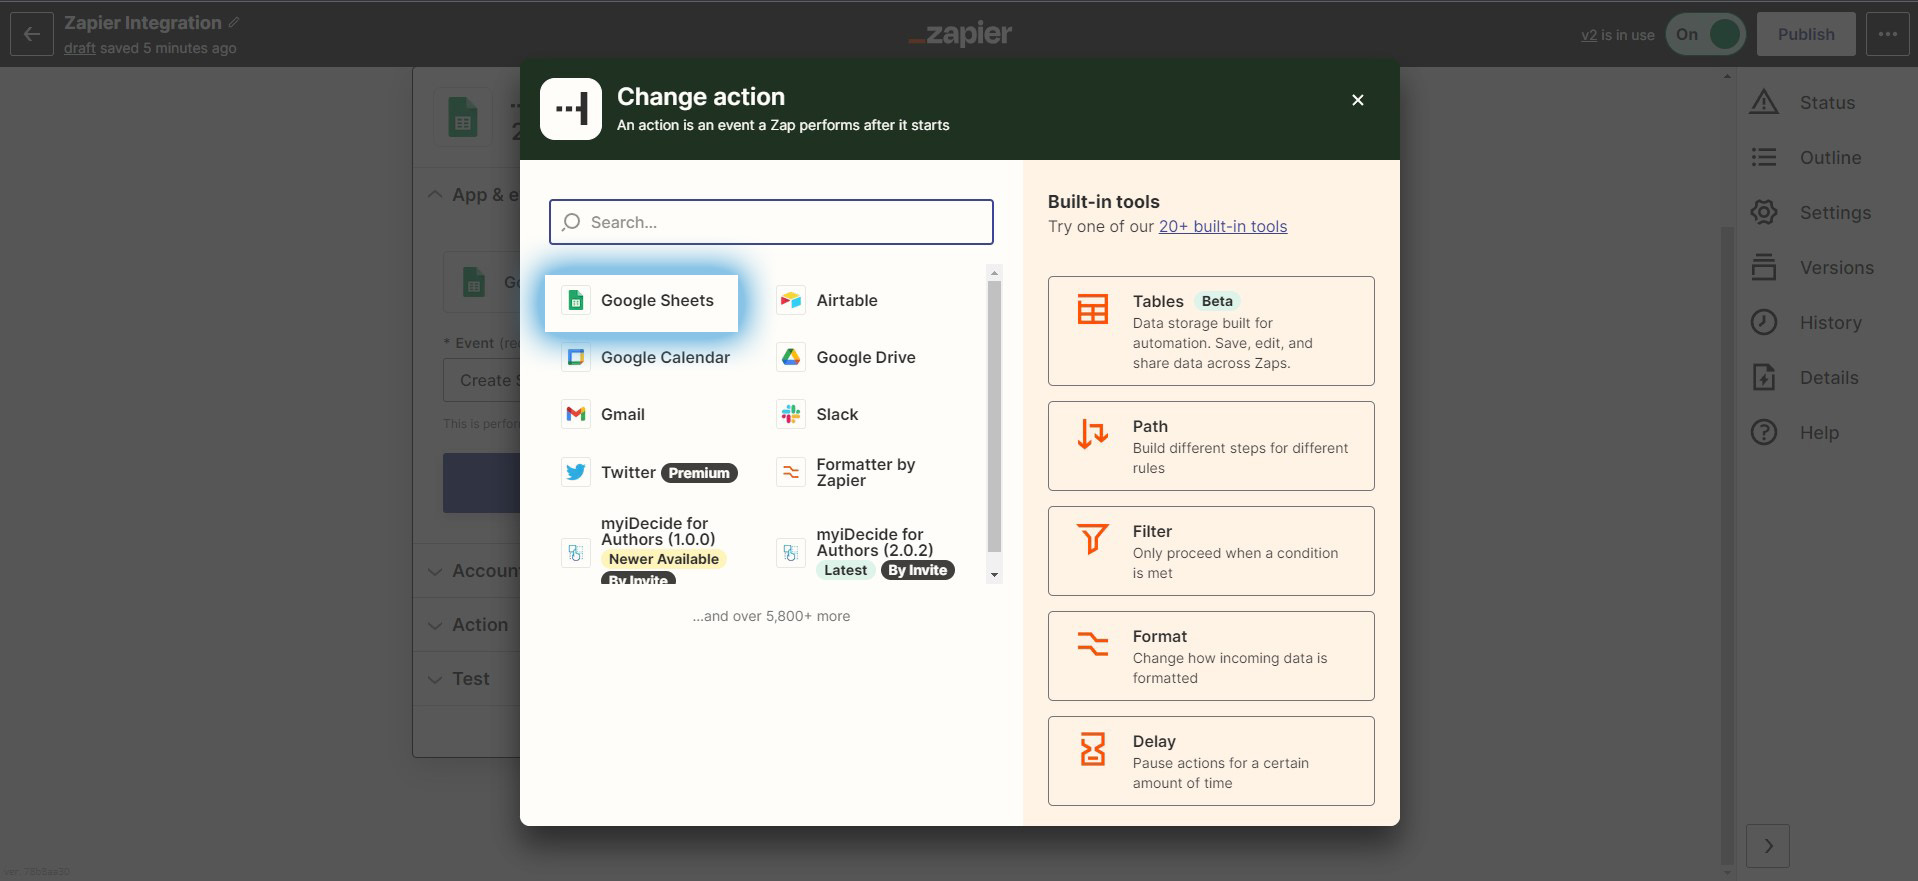
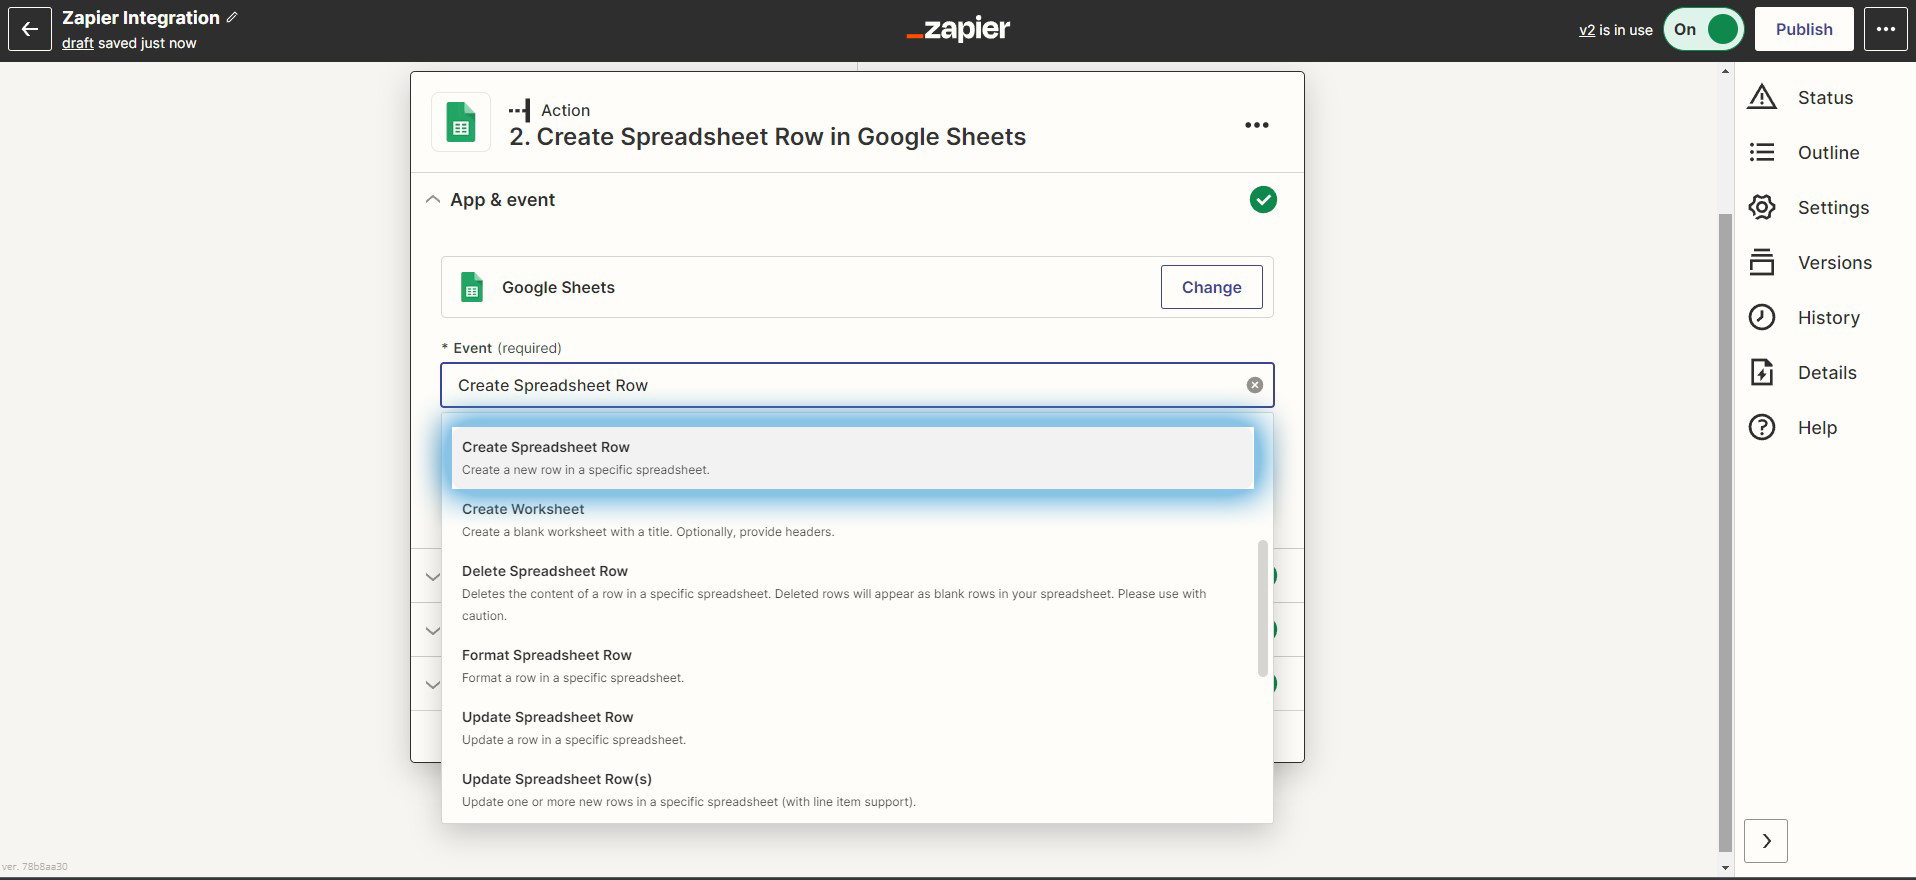
2.) Event: “Create Spreadsheet Row” then click “Continue”
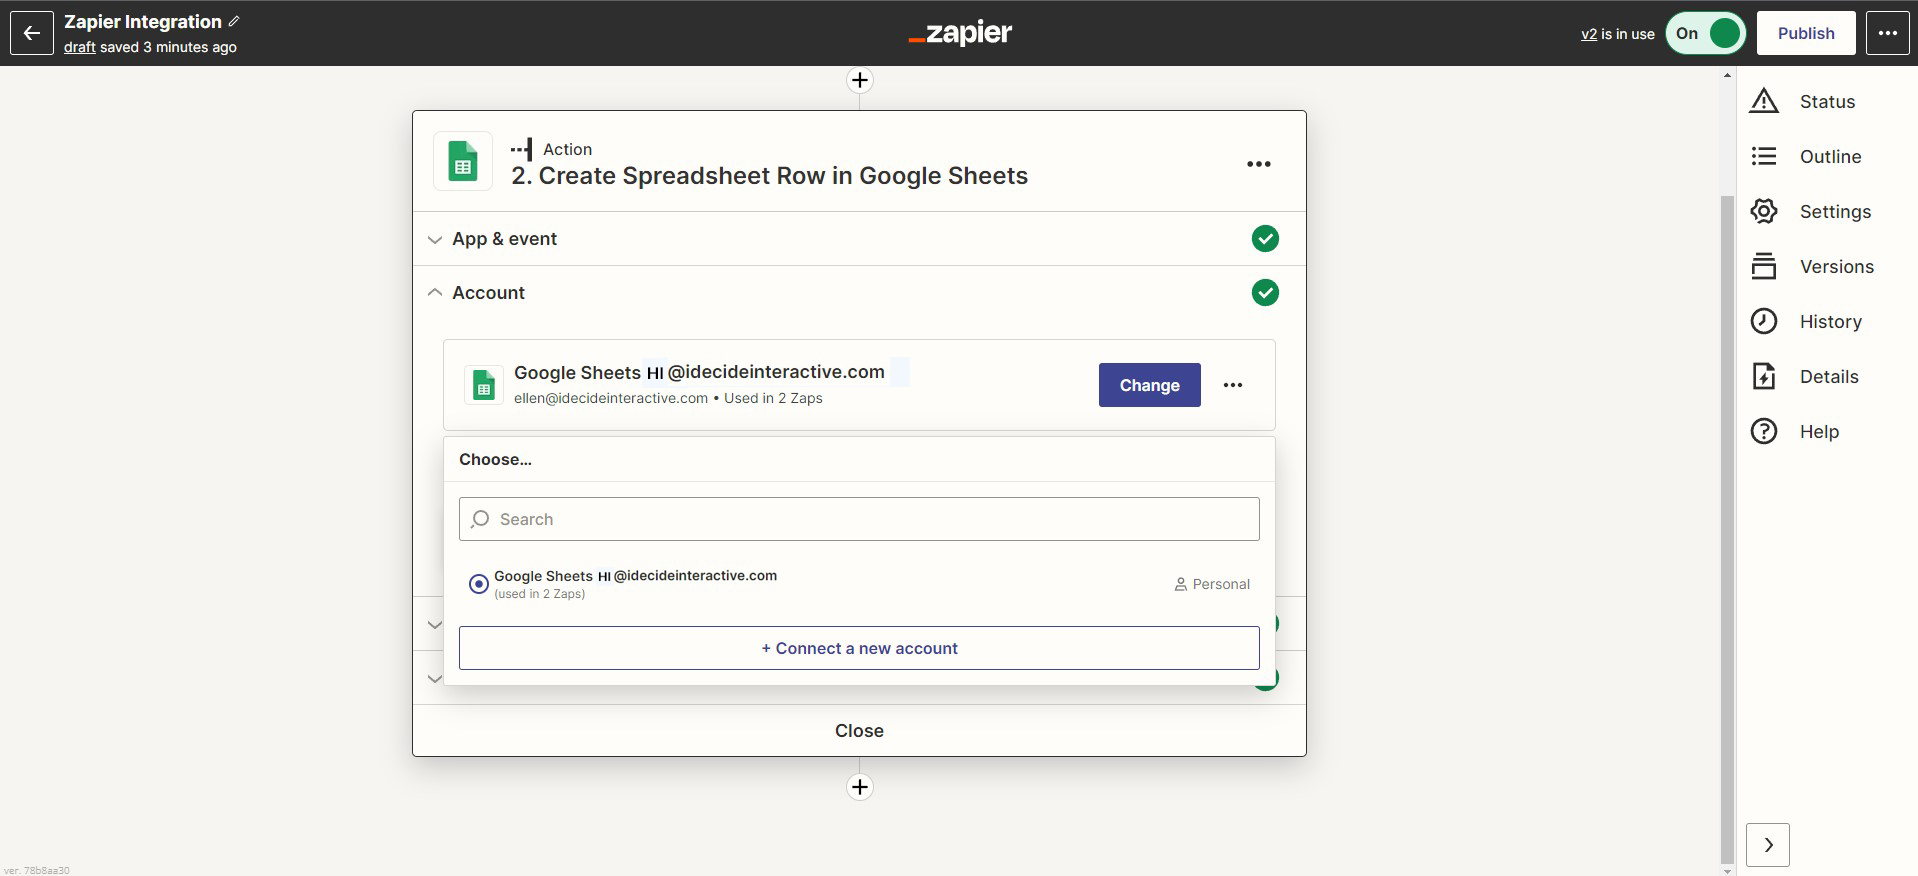
3.) Account: Log into your Google Drive account and click “Continue”
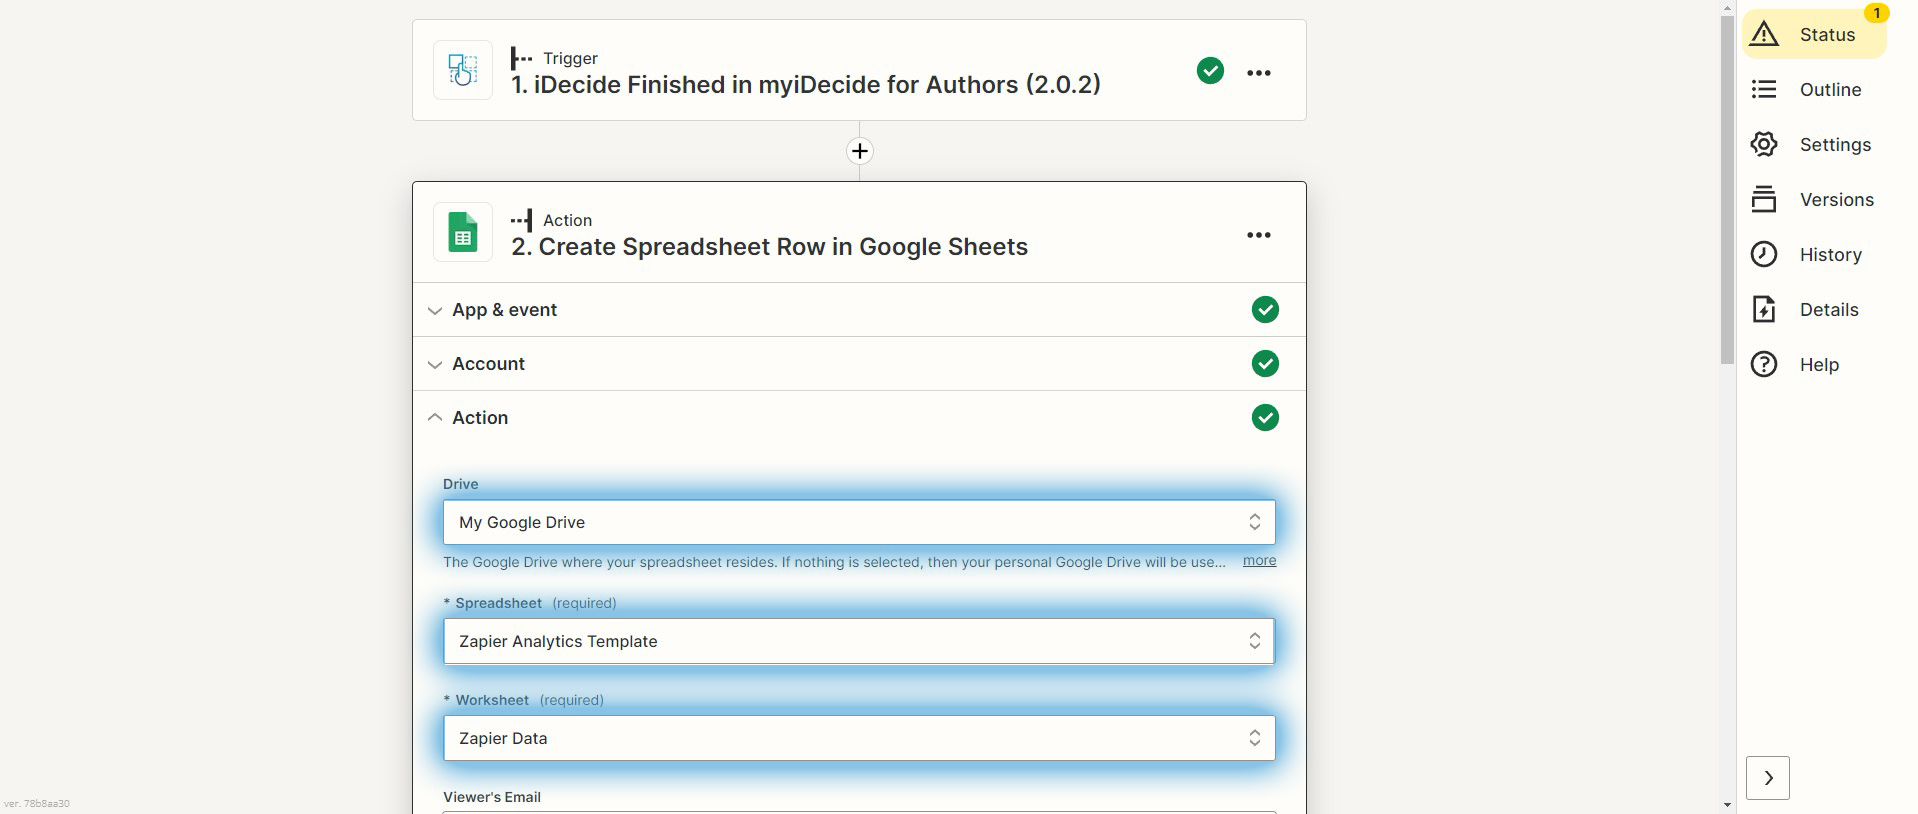
4.) Action:
• Drive: Select the Drive you saved the template to
• Spreadsheet: Select “Zapier Analytics Template”
• Worksheet: Select “Zapier Data”
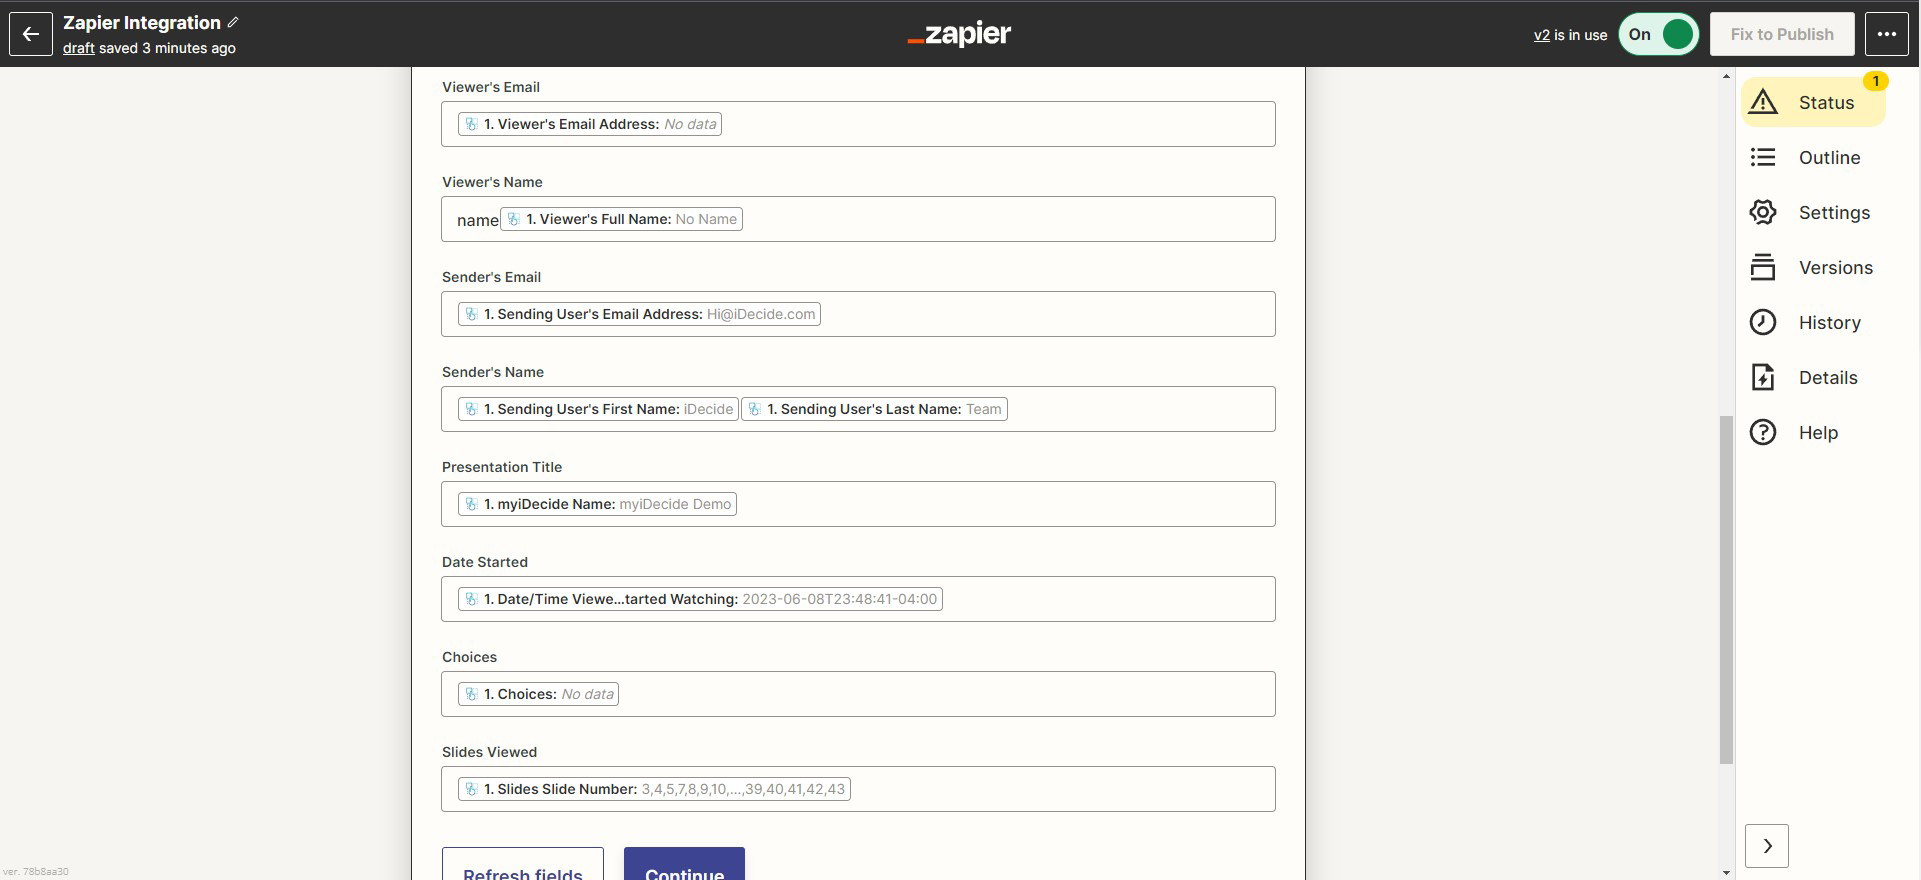
Zapier will automatically pull in the column headings from that worksheet and you’ll choose which of the iDecide data points you’d like to go in each column. Follow below:
1.) Viewer’s Name > ‘Viewer’s Full Name’
2.) Viewer’s Email > ‘Viewer’s Email Address’
3.) Sender’s Name > ‘Sending User’s First Name’ ‘Space Bar’ ‘Sending User’s Last Name’
4.) Sender’s Email > ‘Sending User’s Email Address’
5.) Presentation Title > ‘myiDecide Name’
6.) Date Started > ‘Date/Time Viewer Started Watching’
7.) Choices > ‘Choices’
8.) Slides Viewed > ‘Slides Slide Number’ (NOT Slides Name)
5.) Click “Continue”, then “Test action”
You’ll see a row with your test data appear in real time on your Zapier Analytics Template in your Google Drive.
Check that the information is in the correct columns, but DO NOT EDIT IN THE GOOGLE SHEET TEMPLATE YET
If something is incorrect, edit on the Zapier website
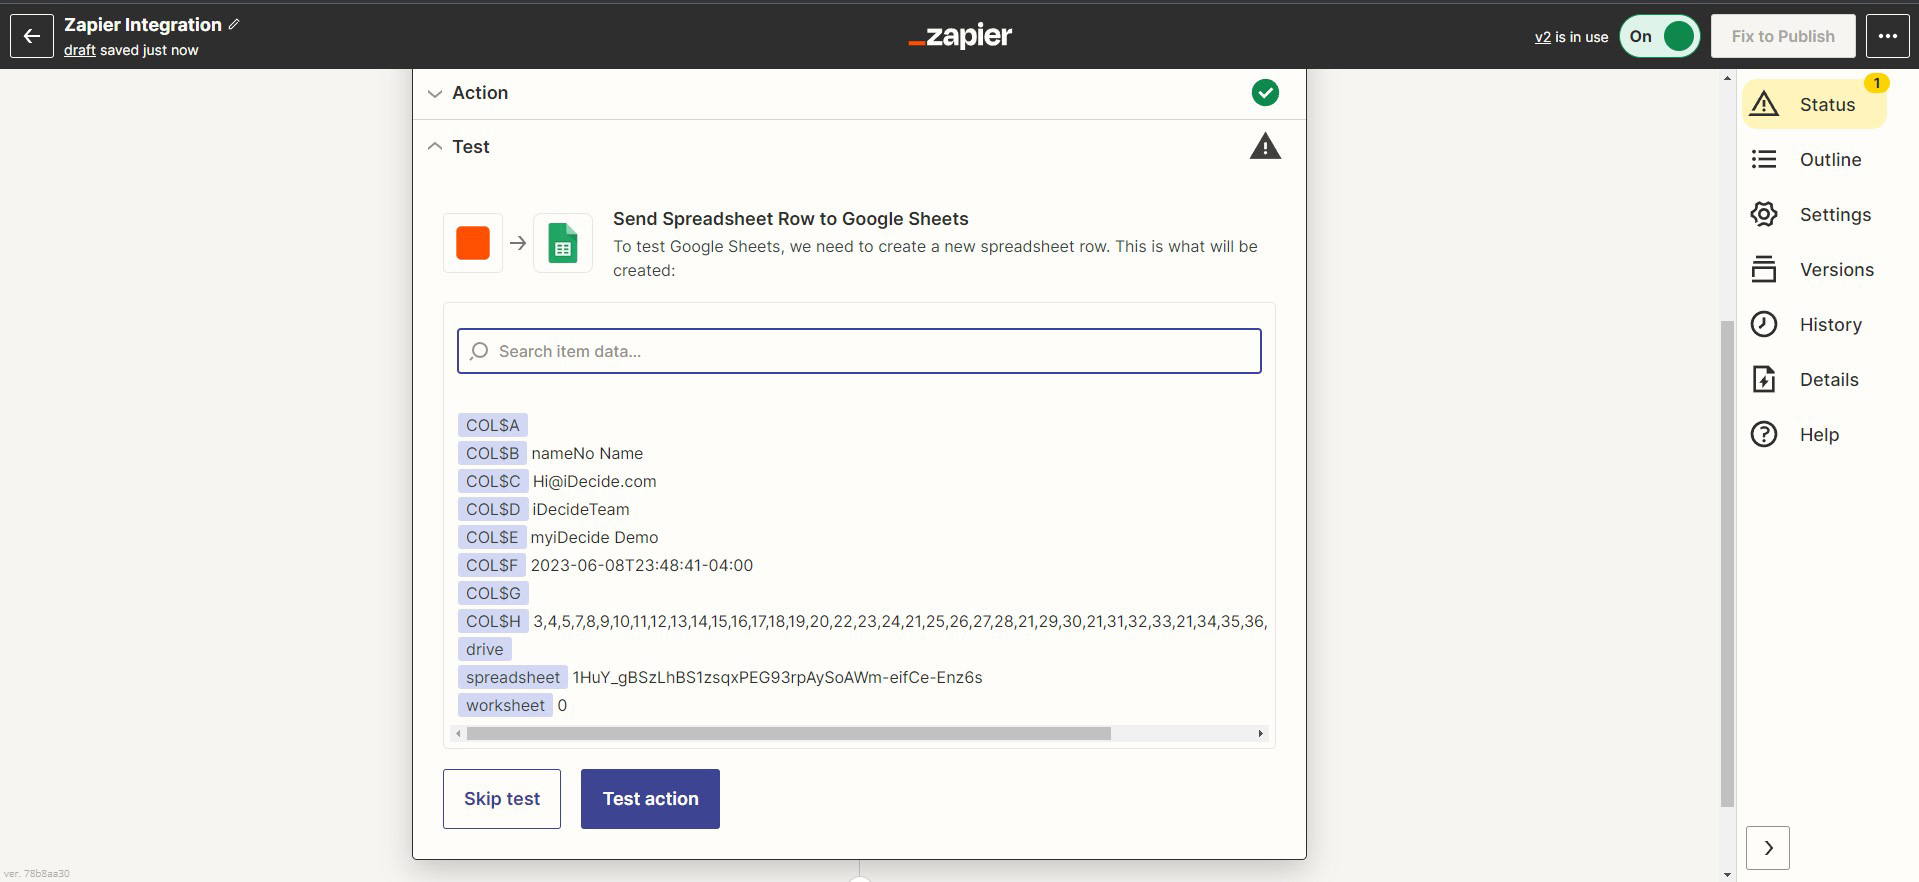
6.) Publish your zap and you’re good to go!
As people watch your presentation, the Zapier Data tab will automatically update with their information and each tab will automatically calculate without having to make edits.

How to Edit the Zapier Analytics Template
Once your Zapier integration is adding data into the Zapier Data worksheet correctly, there are ONLY THREE COLUMNS TO EDIT:
- Slide Titles – OPTIONAL
- Choices To Track
- Select date range on Rep Activity
The first row of each column tells you which to edit and which NOT to.
1.) Zapier Data:
• Do NOT edit anything in this tab. The information being added here is from the Zap
2.) Slide Views:
• Column A (Slide #): DO NOT EDIT: The slide number corresponds to the order in which your slides appear on the myiDecide builder Timeline.
• Column B (Slide Title): OPTIONAL: You can add the slide title for each slide if you’d like. It is optional because it will not affect the formula in the next column. It is just for your ease of reference.
• Column C (Unique Views): DO NOT EDIT: This will count how many people saw the slide.
If 1 viewer watched a slide twice, this column will count it one time.
• Column C (Total Views): DO NOT EDIT: This will count the total number of times a slide was watched.
If 1 viewer watched a slide twice, this column will count it 2 times.
• Graph: Based on the Unique Views column to help visualize which slides are popular, analyze where viewers are falling off, and determine which slides you may be able to delete if they’re not commonly chosen.
3.) Viewer Choices:
• Column A (Choices): EDIT: Here you’ll type out the choices you’re interested in tracking. They must be typed exactly as they appear in the Zapier Data.
Common Examples:
Main Menu Options- Shows you which sections people are interested in, and which you can delete
Survey Options- If you use iDecide as a survey, you can list all the options here to get a total for each survey option
Closing Call To Action- See your close rates
• Column B (Total Choices): DO NOT EDIT: This counts the number of times each choice was chosen from the Zapier Data tab. If a viewer chose one option multiple times, it’ll count their total views.
Example: Viewer A watched Main Menu Choice #1 three times, Total Choices will equal 3.
4.) Rep Activity:
• Date Range: EDIT: Select the range you’d like to analyze from the calendar
• Sender’s Name: DO NOT EDIT: Shows you a condensed list of everyone sending your presentation.
• Sender’s Email: DO NOT EDIT: If a sender has more than one subscription under different email addresses, both emails will be shown with a breakdown of their total views.
• Total Number of Views: DO NOT EDIT: This shows the total number of times a sender’s presentation has been viewed.
• Top Performing Senders: Shows you a rank of top performers for the selected date range.
Connecting iDecide to your other software applications #
Get Started #
1.) Enable External Analytics Support (if you haven’t already)
• Log into your myiDecide Builder, click “Resume an Existing Presentation,” then click the Edit Info icon next to the presentation name
• Scroll to the bottom and check the box next to Enable External Analytics Support
• Go through your presentation and label each button that you’d like to track. (Troubleshooting: If your analytics aren’t showing the choices made, you may have left the button analytics code blank. This is the text that will show in your Google Sheet when your viewer makes a selection)

2.) Publish your presentation (if you haven’t already)
• Publish your myiDecide
• Ensure your presentation has been watched at least once before moving ahead

3.) Login to Zapier
• CLICK HERE TO SIGN UP OR LOG IN & ADD iDECIDE TO YOUR APPS
• Click “+ Create Zap” on the dashboard to get started


2.) Event: Select the event that will start the Zap then “Continue”
• iDecide Finished (recommended): We’ll send Zapier the data once a viewer finishes watching the presentation. Data will include viewer and sender contact information, which slides were viewed, all choices the viewer made throughout the presentation, and Closing Slide choice.
• iDecide Started Playing: We’ll send Zapier the data when a viewer clicks the Play button. Data will only include the viewer and sender contact information.
• Viewer Choice: We’ll send Zapier the data when the first viewer choice is made in the presentation after clicking play. Data will include viewer and sender contact information, plus the first selection the viewer made after clicking the Play button.

3.) Account: Login to your iDecide Pro subscription

4.) myiDecide: choose the myiDecide presentation you’d like to track then click “Continue”

5.) Test trigger: Click the button and you’ll see the test data from your latest view. You should see “We found an iDecide!” success message. The test will show actual data from the last time the selected presentation was viewed.
Click “Continue with selected record”

Set Up Your Action #
1.) App: Search the website you’d like to connect to
2.) Event: Choose from the events available for that App then click “Continue”
3.) Account: Log into your account for the App and click “Continue”
4.) Action: Choose the action that you want to happen when your iDecide trigger is activated.
5.) Click “Continue”, then “Test action”
You’ll be able to see the test data in the App in real time If the data is not inputting the way you’d like, make your edits on the Zap.
6.) Publish your Zap and you’re good to go!
As people watch your presentation, the data will automatically update in the Action App you chose.
How can Zapier work with iDecide? #
iDecide’s Zapier integration can help your business in several ways! Maybe you’d like to create a Mailchimp email sequence to follow up with prospects who have viewed your iDecide presentations; or add the viewer’s info to the CRM you’re using; or to have access to more in-depth analytics about your presentations’ performance- like the number of times each slide has been viewed, which reps have sent your presentation the most, what buttons your viewers have selected, and much more!
All of this and more can be done using the Zapier integration!
If you have any questions, please email us at hi@iDecide.com
